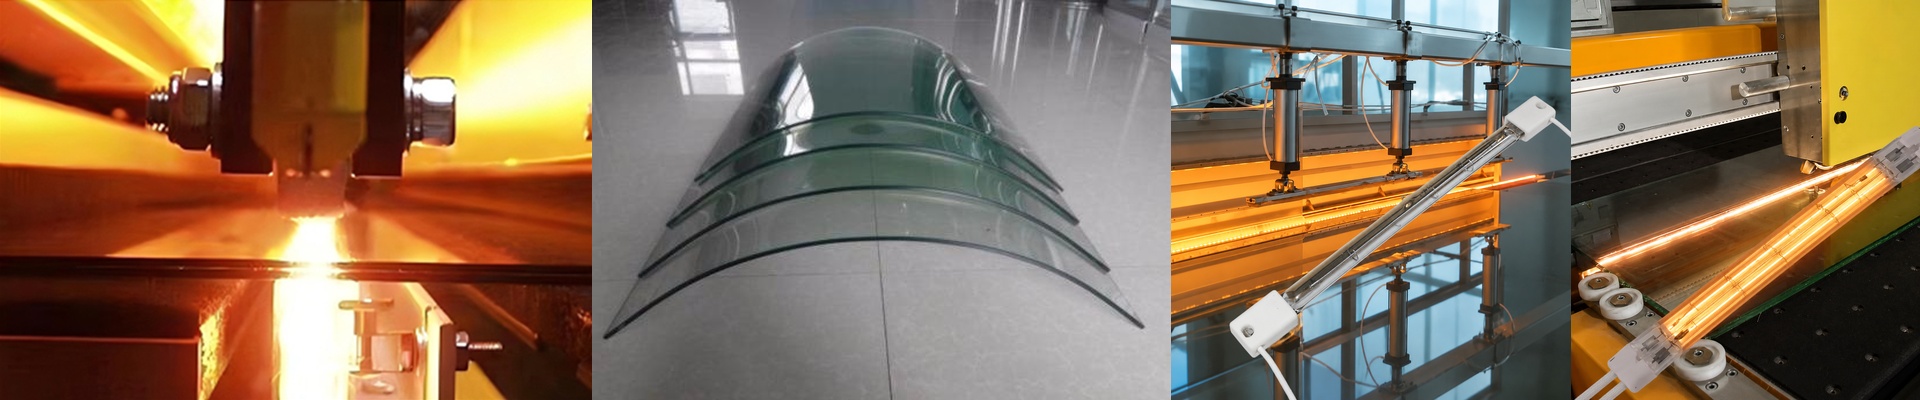
Getting Your IR Heat Exactly Right: The Secret to Twin Tube Elements
Most infrared lamps just blast a wide range of heat. For a lot of jobs, that’s plenty. But if you’re working with specific glass additives, a “one size fits all” approach is basically just wasting electricity. Think of it this way: if the heat doesn’t hit the exact spot where your material wants to absorb it, the energy just bounces off the surface. You aren’t actually heating the glass; you’re just warming up the air in the room.
Tuning the Light
We fix this by messing with the filament materials and the coating on the quartz tube. It’s not about just cranking up the power—that’s a rookie mistake. It’s about alignment. If your additive loves to soak up energy at 1.1 microns, we build the element to peak right there. It’s like tuning a radio to the exact station you want to hear.
Why the Twin Tube Matters
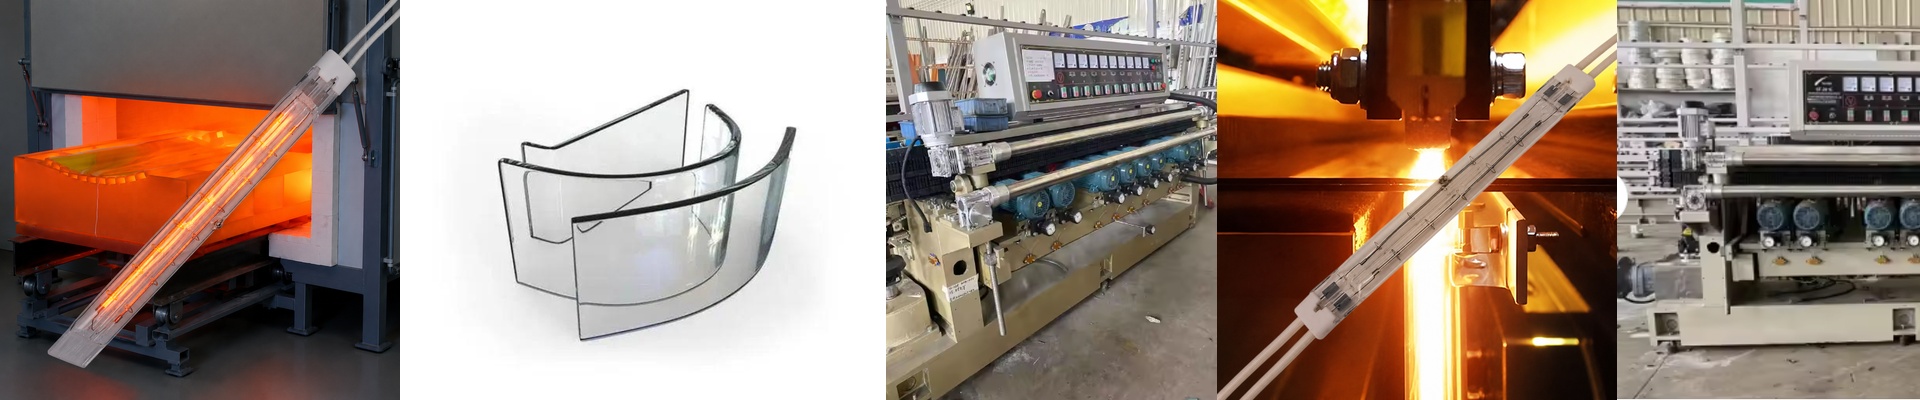
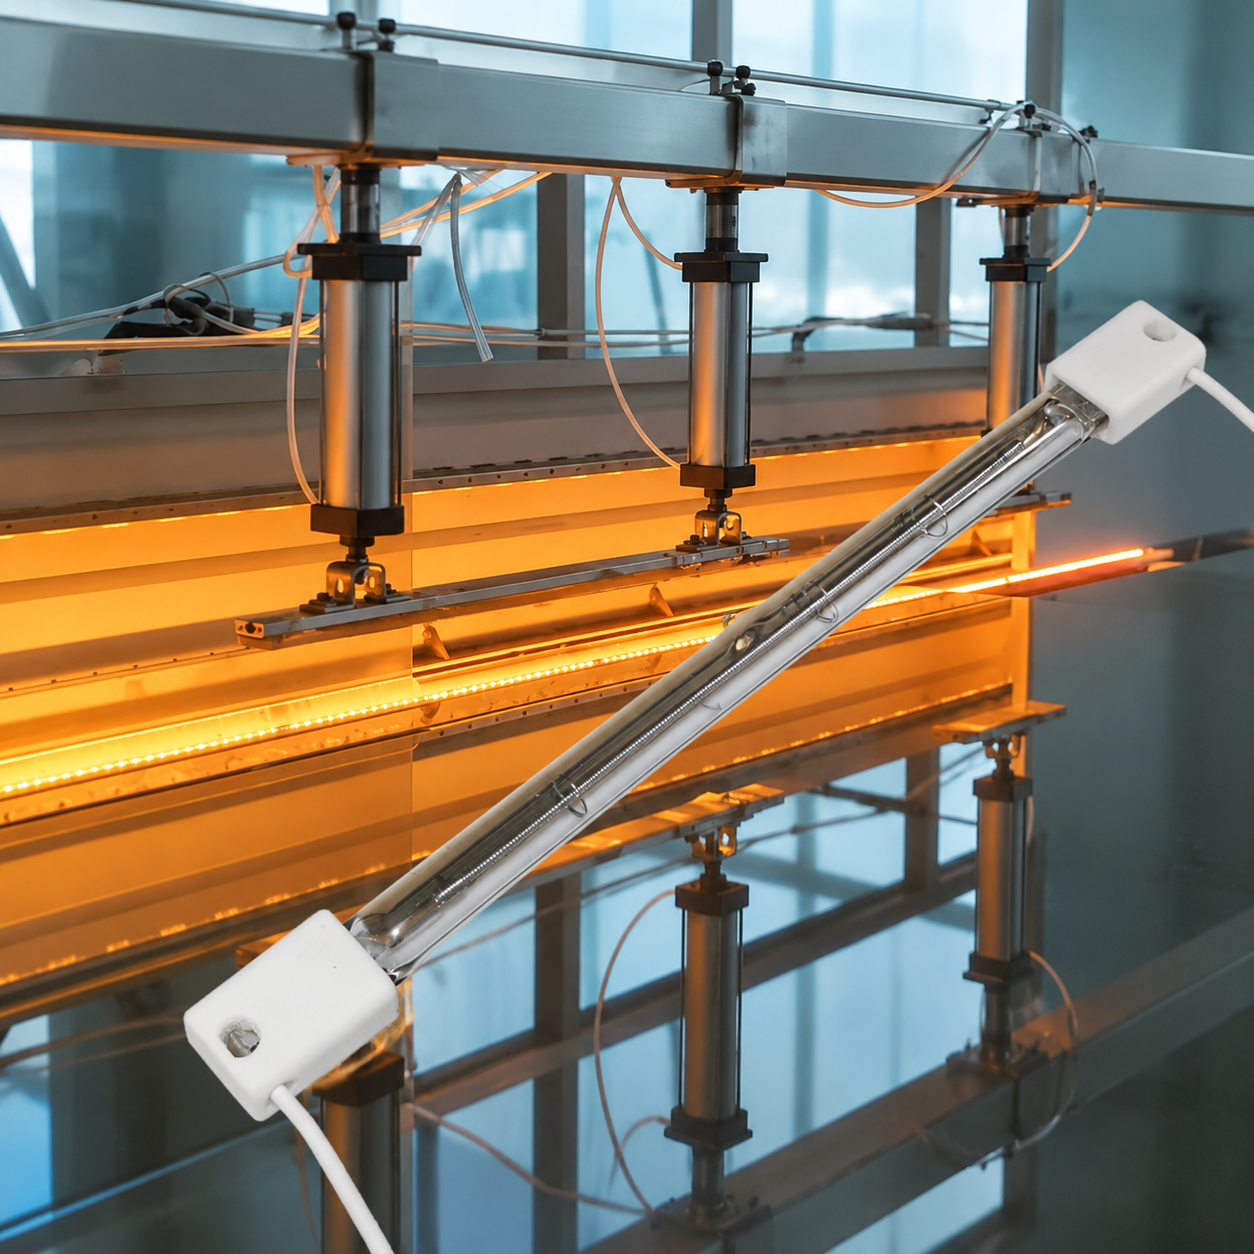
The twin tube setup is a clever bit of engineering. It gives you double the heating surface without taking up more space. The real win here? You can push more wattage without cooking the filament. It keeps the lamp from burning out too early and ensures the heat spreads evenly across the glass, so you don’t end up with hot spots. We use high-purity quartz so the tube doesn’t accidentally block the very wavelengths we worked so hard to tune. And if you need to block certain waves or boost others, we can add selective coatings to handle that.
The Trade-offs (The Honest Part)
Here’s the thing: when you concentrate heat into a narrow band, it speeds things up, but it also puts more pressure on the quartz-to-metal seals. You also can’t be sloppy with your power. A voltage spike in a custom-tuned lamp can shift your spectral peak or just kill the lamp entirely. To keep things running smooth, I highly recommend using a precise PID controller. It stops the additives from overheating and prevents that dreaded thermal shock that cracks your glass.