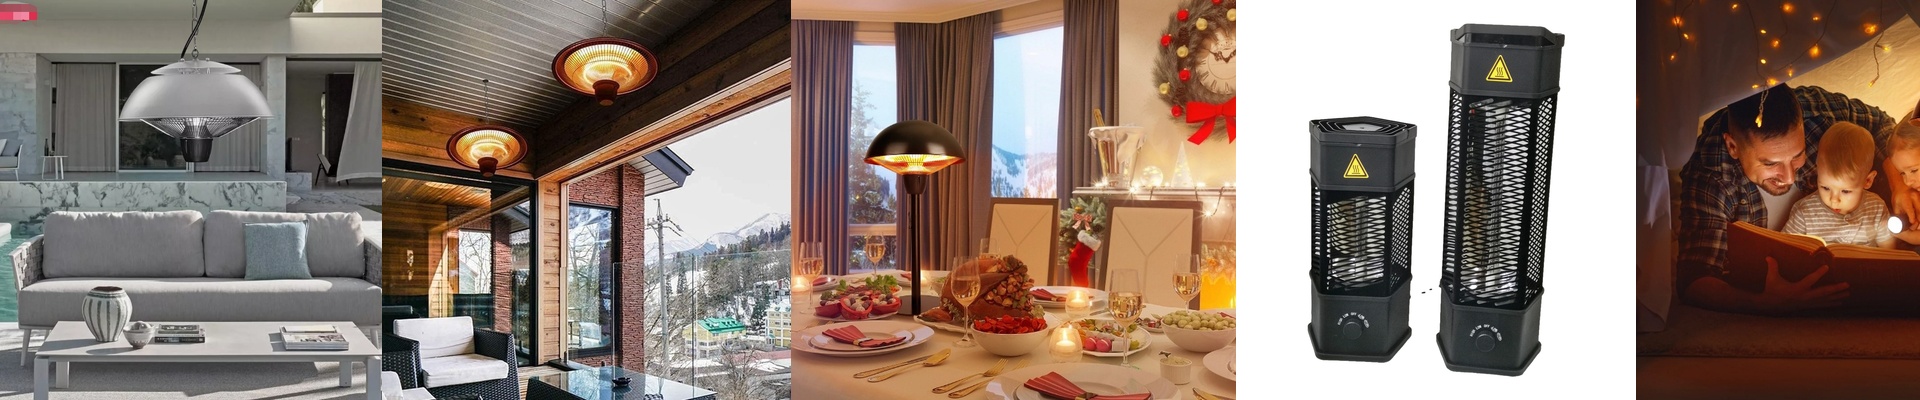
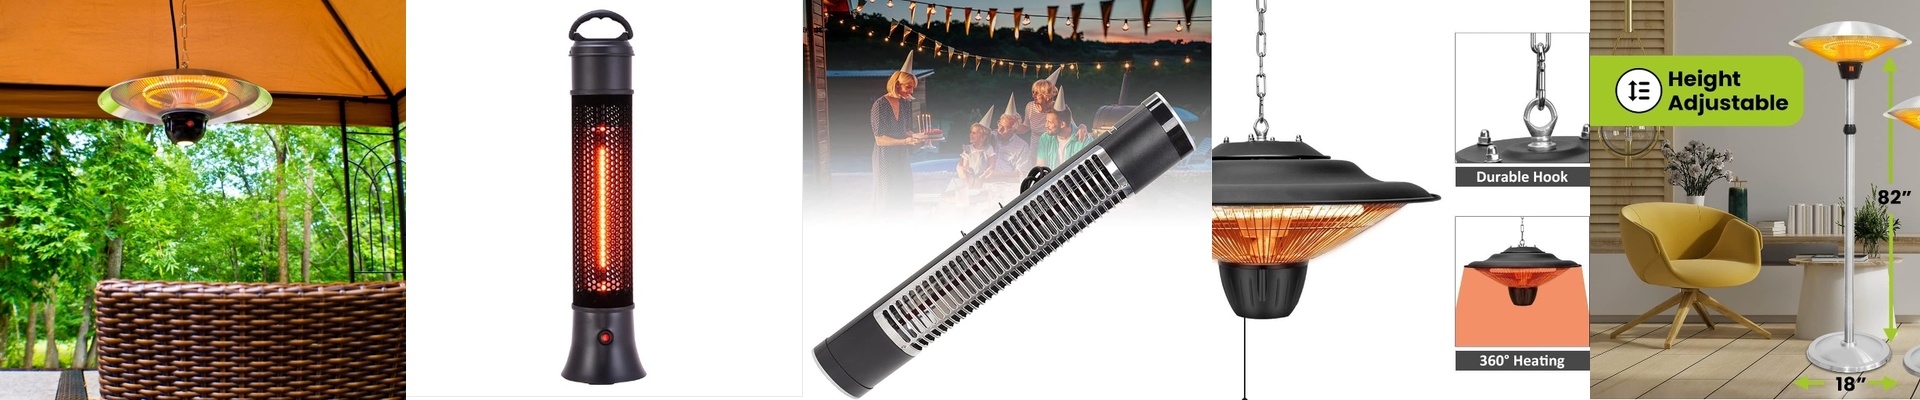

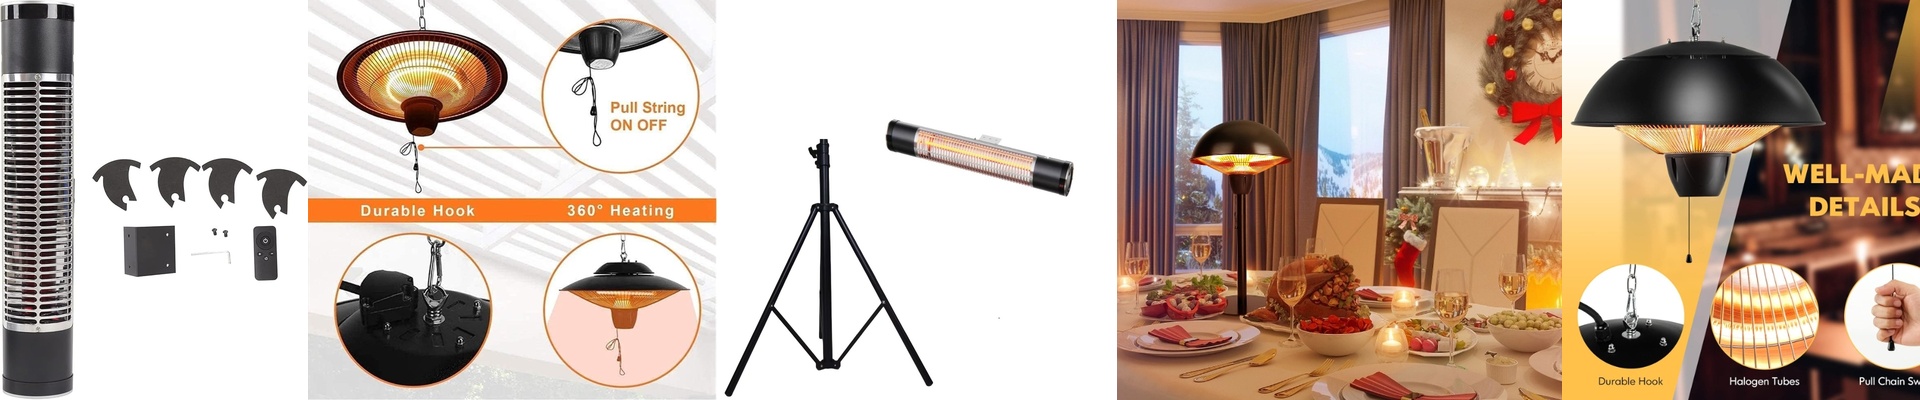
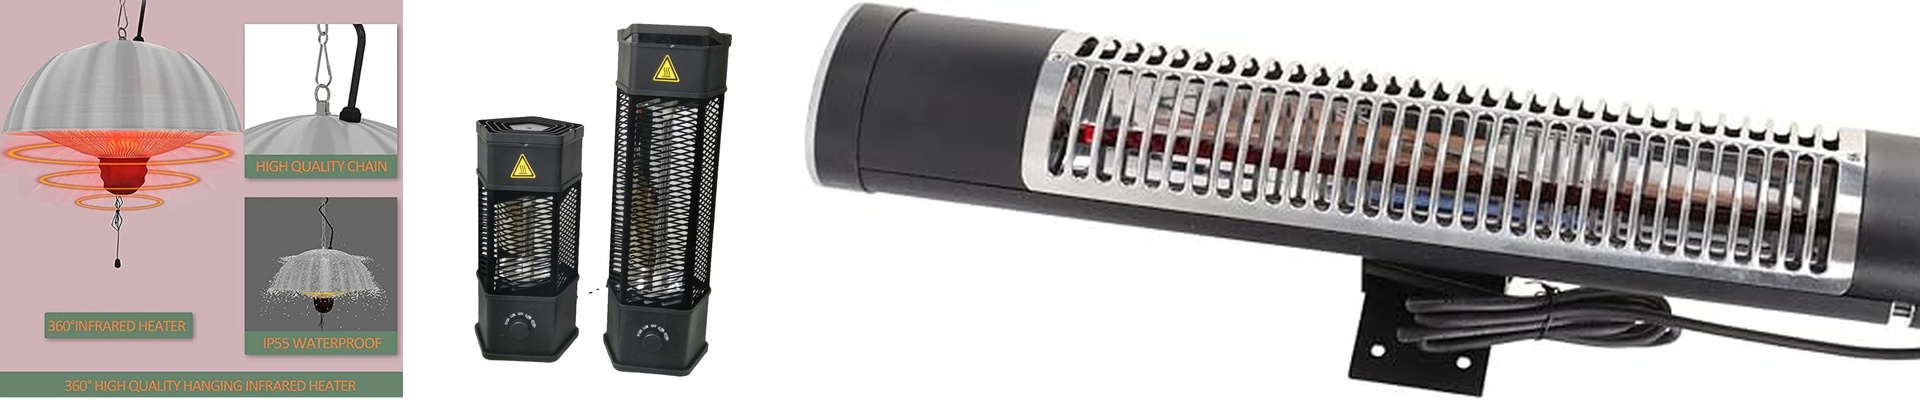
Keeping Your Infrared Heaters Safe in the Bathroom
Putting infrared lamps in a bathroom isn’t as simple as plugging them in and walking away. You’re dealing with a nightmare combo: airborne steam and direct splashes of water. If your gear isn’t built for high humidity, those heating elements will short out or start leaking current. Not a great way to start your morning.
Stopping the Leaks
To make sure the electricity stays where it belongs, we lean heavily on the materials. We use high-grade alumina ceramics or reinforced quartz seals at the ends of the lamps. Basically, these act as a wall that stops the current from jumping from the heating filament over to the outer chassis. You also have to keep an eye on the insulation resistance. In a damp room, that resistance can tank, which is how you end up with ground faults. We push our units to the limit, testing them to make sure they keep those high mega-ohm ratings even when they’re dripping with condensation.
The Right Seals
If you’re adapting a waterproof patio heater for a bathroom, the IP rating is your best friend. We don’t take chances here—we seal every connection point with silicone gaskets or epoxy resins. If you’re using a standard R7s or Sk15 socket, don’t just leave it bare. Wrap that connection in a moisture-proof boot. Open-wire connections are where things usually go wrong. We use sealed cable entries to stop “wicking,” which is just a fancy way of saying we stop water from sneaking inside the cable jacket and hitting the terminals.
The Heat Struggle
Here’s the catch: when you seal a lamp tight enough to keep water out, you’re also trapping the heat inside. It’s a bit of a balancing act. If the housing gets too hot because there’s no airflow, your seals can melt or your wiring can literally fry. To handle that trade-off, we use fluoropolymer wiring. It can take the heat without breaking a sweat, so you get the safety of a waterproof seal without the risk of a meltdown.