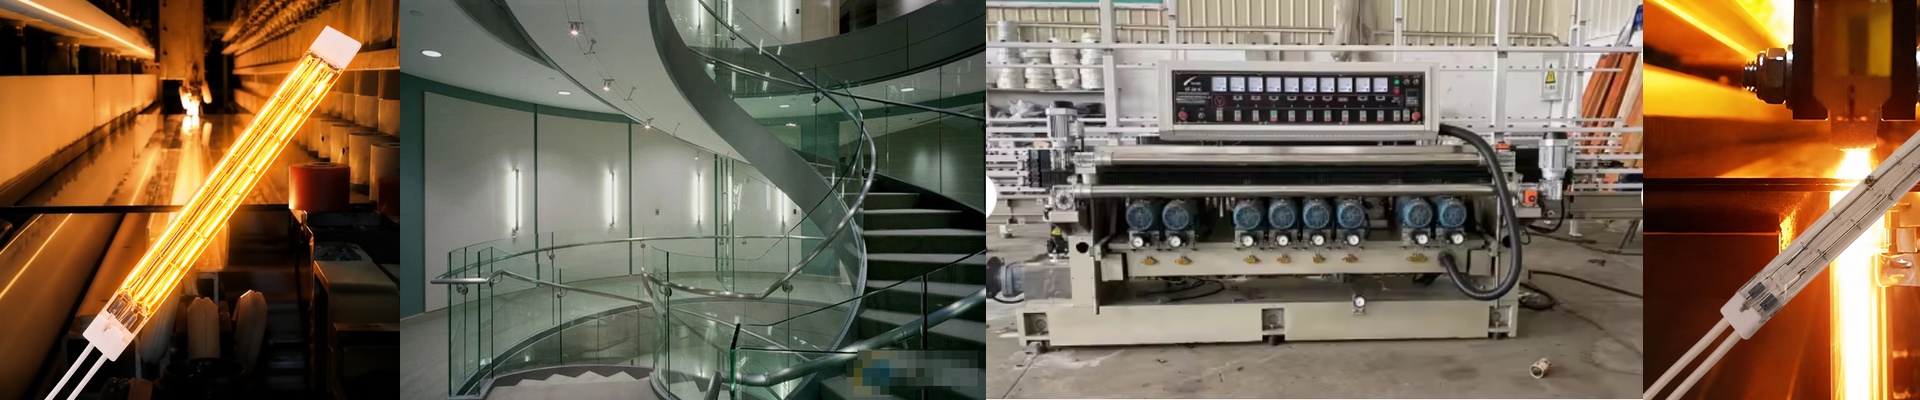
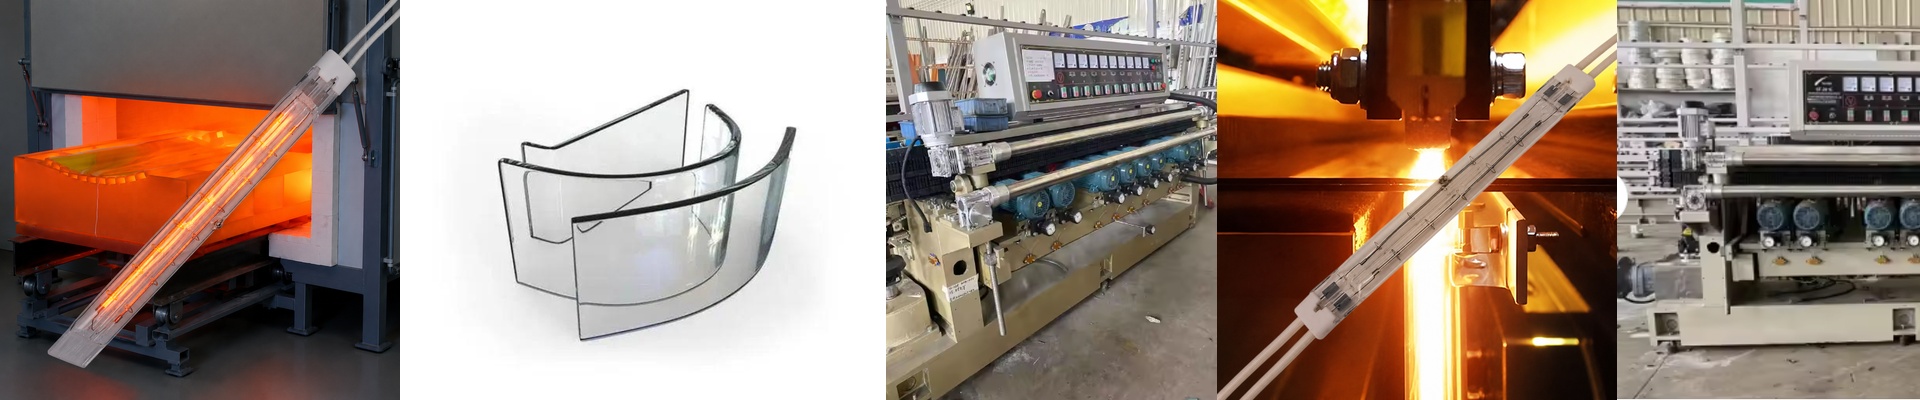
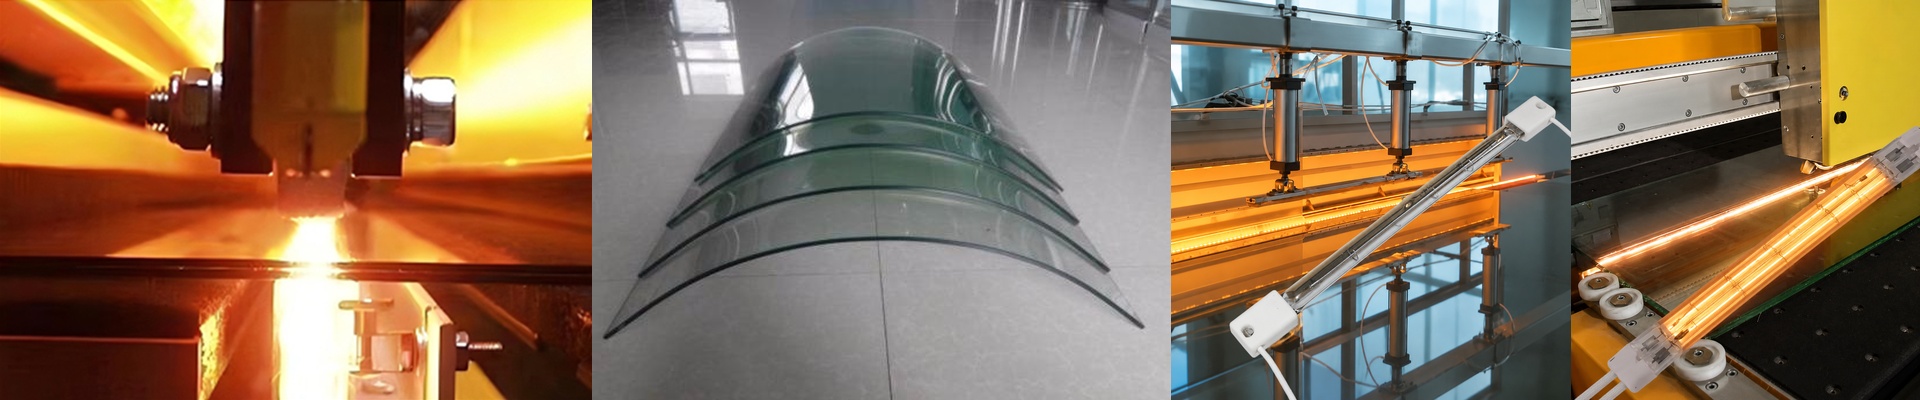
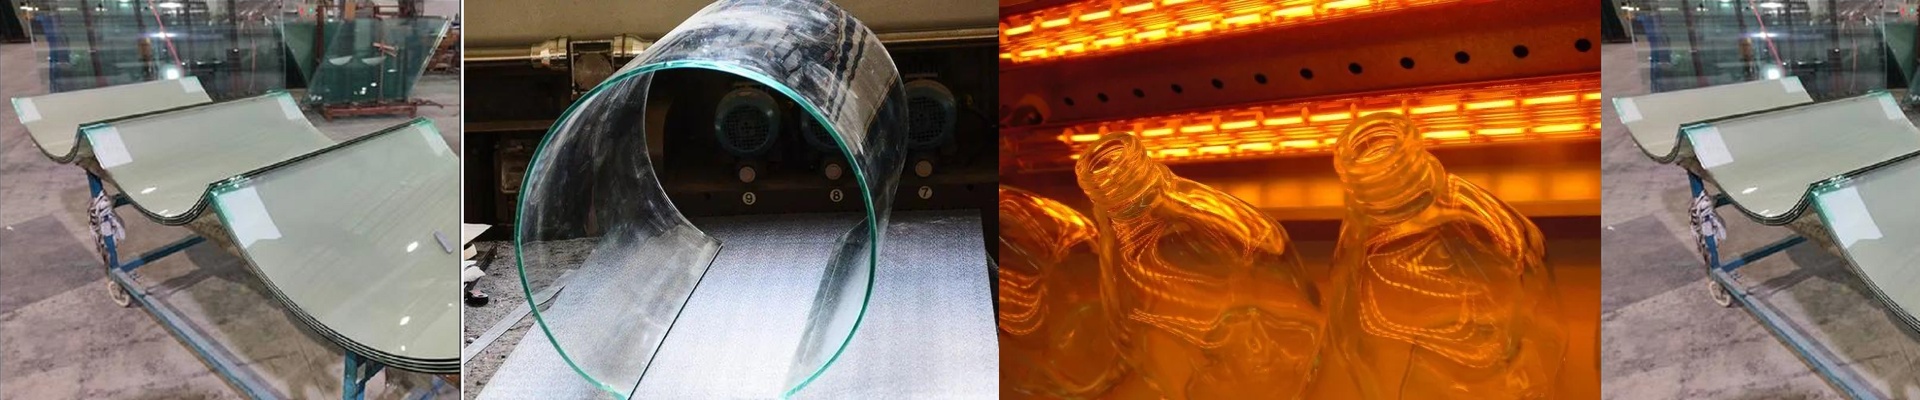
On the processing floor, sublimation printing falls apart fast when the heater can’t hold a steady, even thermal field. You know the signs the moment they show up: color shift, poor adhesion, and the expensive headache of warped glass. The sublimation transfer isn’t optional—it’s the temperature-controlled gate between ink and image. If the heat profile drifts, the whole run pays for it, one bad sheet after another. Here’s what we build around. We spec NIR quartz elements because they heat the glass directly, not the air around it. That gives you low thermal inertia and a fast response—exactly what you need when the line is running 3–8 m/min and you can’t afford cold zones. Typical configurations are 240–480 V, 10–80 kW, with zone control to manage edge-to-center uniformity. We tune element spacing and reflector geometry to flatten the temperature curve, keeping peak-to-valley within ±2%. The heater body is quartz or high-temperature glass for cleanliness and chemical resistance, and we match common mounting footprints so the module drops into existing frames. Controls are set up for PLC and thermocouple feedback, so you can lock in the setpoint and repeat it shift after shift. No guesswork. Just stable heat. In a sublimation line, the heater is the bottleneck you can actually control. Fast, even heating cuts dwell time, boosts throughput, and keeps the glass below the point where thermal stress can fracture it. Energy use drops because NIR heats the product, not the building. I’ve seen plants knock 20–40% off the gas or electricity tied to drying when they switch to electric NIR in the sublimation zone. Repeatability matters just as much. Tight thermal uniformity means consistent color density, fewer reprints, and less scrap. For insulating glass and architectural coatings, that stability carries straight through to the sealing and curing steps that follow. Fewer rejects downstream. NIR heats fast, and that makes the process sensitive to line speed changes and shifts in glass emissivity. Plan for closed-loop temperature control, and make sure the heater matches your glass—coated low-E surfaces, for example, absorb differently and may need adjusted power density. Installation is straightforward, but alignment is critical. Mis-mounted elements create hot streaks that show up as banding in the print. Expect a short warm-up, typically 30–60 seconds, and schedule element inspection at 5,000–8,000 hours depending on duty cycle. Treat the heater like the calibrated instrument it is, and it will hold the window your process needs.